


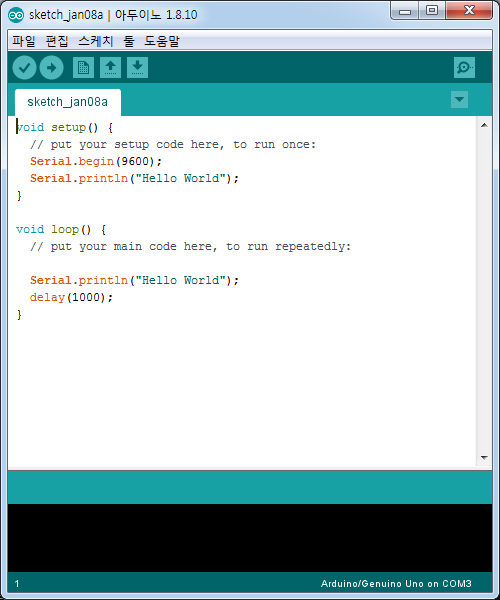
이렇게 적어주고
void setup() {
  // put your setup code here, to run once:
  Serial.begin(9600);
  Serial.println("Hello World");
}

void loop() {
  // put your main code here, to run repeatedly:

  Serial.println("Hello World");
  delay(1000);
}
업로드
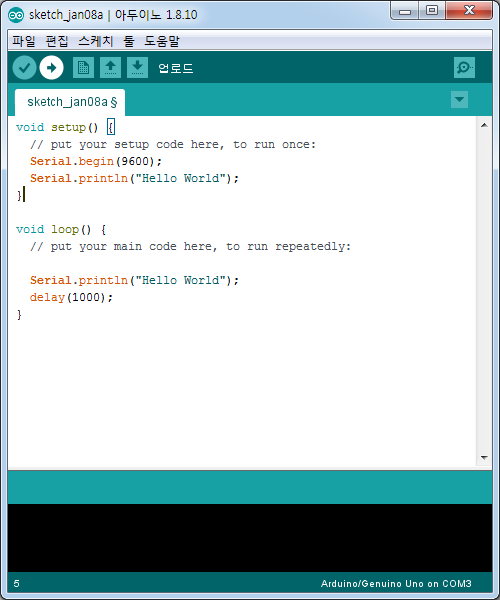
그리고
저거 누르면

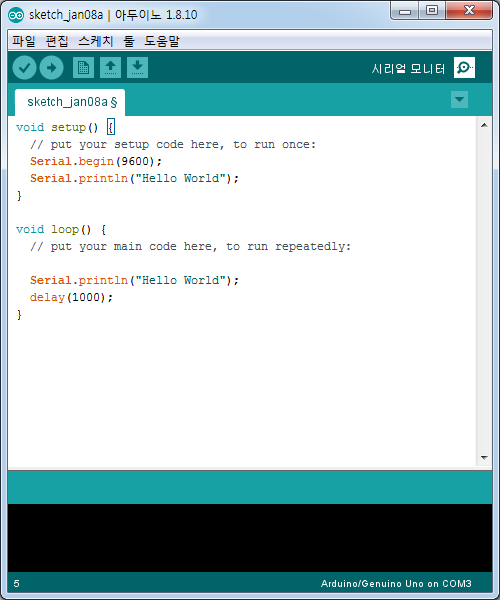
실행이 된다
이제 LED 를 만들어보자
브레드 보드를 꺼네준다
10번이 긴거임니다!!!
긴거가 10
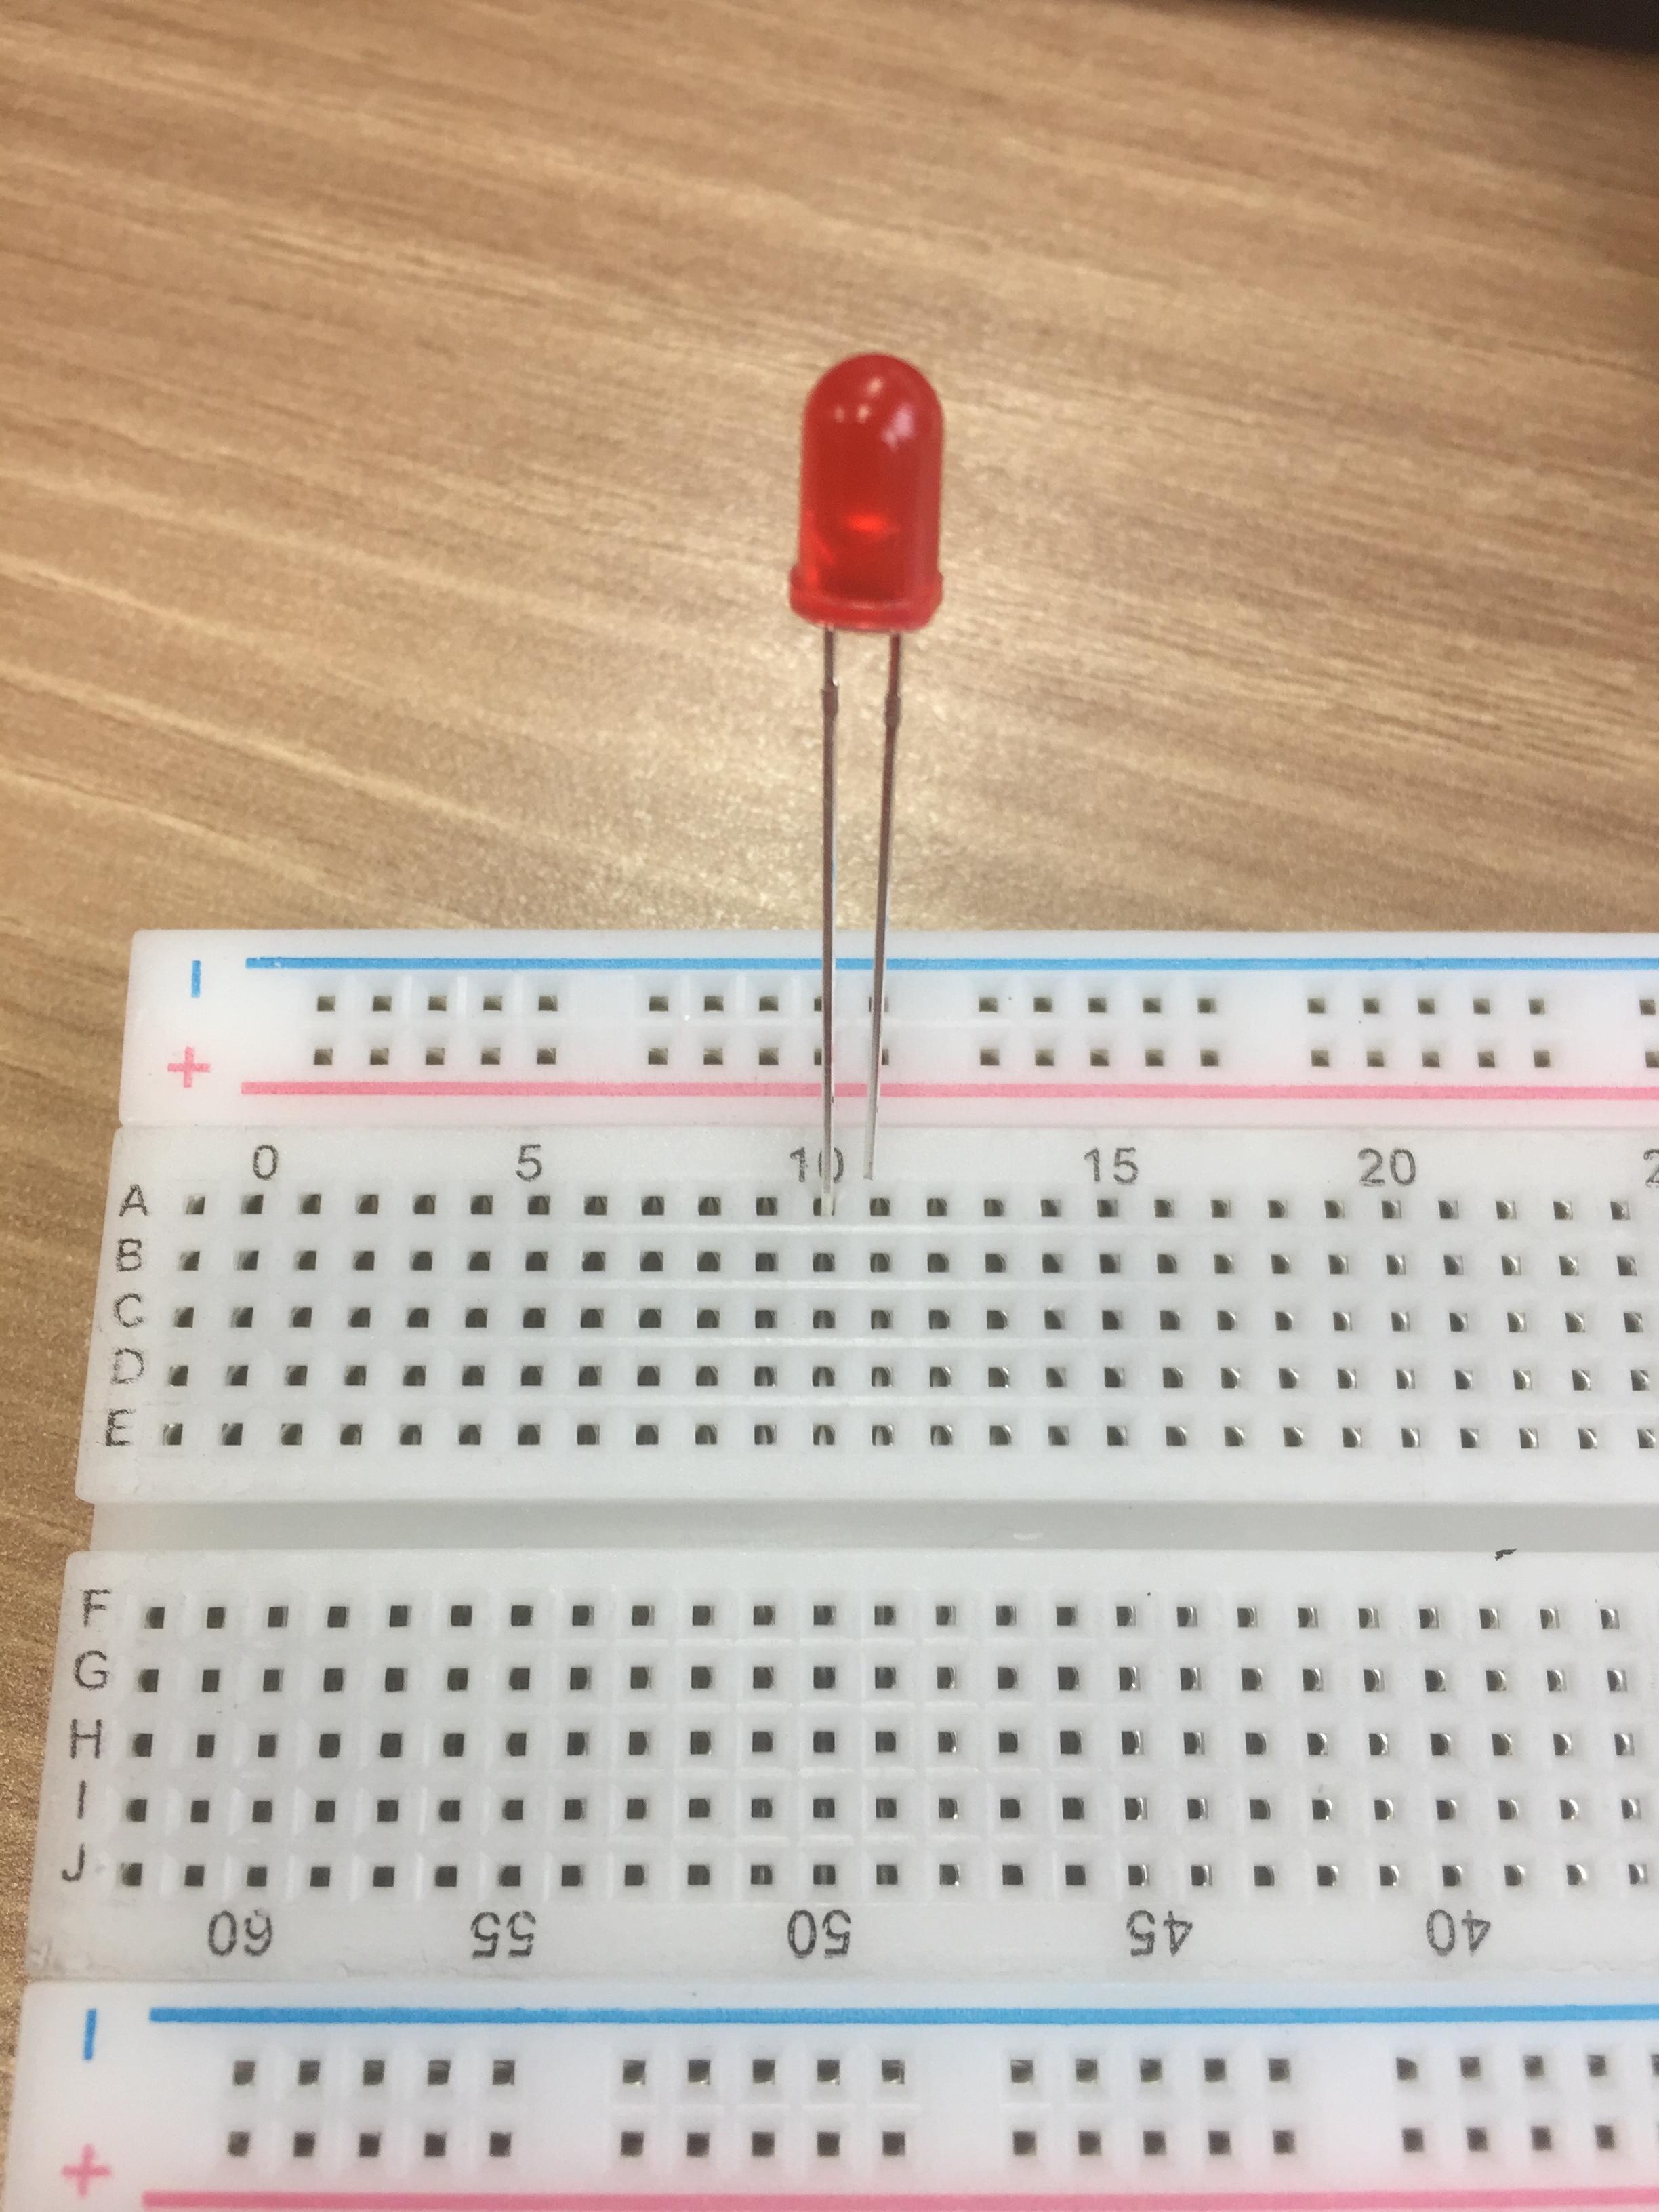

잘 써주고

int ledPin = 10; //LED가 연결된 아두이노의 디지털 10번(D10)은 "ledpin"으로 정의
void setup() {
  // put your setup code here, to run once:
    pinMode(ledPin, OUTPUT); // ledpin(D10)은 출력
}

void loop() {
  // put your main code here, to run repeatedly:
    digitalWrite(ledPin,HIGH); //ledpin(D10)에 HIGH의 디지털 출력
    delay(1000);

    digitalWrite(ledPin,LOW); //ledpin(D10)에 LOW의 디지털 츨력
    delay(1000);
}
아두이노 실행해보자
오오옷!!!!

'[ 충남인력개발원 ] (2019) > └아두이노' 카테고리의 다른 글
| 아두이노 저장된 코드 다운로드 공부중 (0) | 2020.02.06 |
|---|---|
| Arduino Full Kit wifi 모듈 아두이노 설치 (0) | 2020.01.14 |
| 아두이노 빛 수신기 습도 수신기 (0) | 2020.01.08 |
| 아두이노 버튼 넣어서 LED 컨트롤 (0) | 2020.01.08 |
| 아두이노 설치 연결 (0) | 2020.01.08 |

Or71nH